
Recipe of Ultimate Perfect Mini Egg Biscuit
Mini Egg Biscuit. Hi everyone, hope you are having an incredible fresh today. Today, I will show you a step to serve an unique food, Mini Egg Biscuit. It is certainly considered one among my favorites. For your, I will make it a little bit tasty. This can be really delicious.
To get began out with this precise recipe, you need prepare some ingredients. You can cook Mini Egg Biscuit using 4 ingredients and 6 steps. Here is how you may achieve it.
The recipe needed to serve Mini Egg Biscuit:
- Get 60 g (3 tbsp) of sweetened condensed milk.
- Prepare 37 g of (2 qty) medium egg yolks.
- Take 42 g (3 tbsp) of unsalted butter, room temperature.
- Prepare 110-130 g of (12-14 tbsp) potato starch or corn starch.
Steps to make yummy Mini Egg Biscuit:
- Youtu.be/L9NWA1J7aMI.
- In a medium bowl, mix together milk, yolks, and butter thoroughly..
- Add 110 grams of starch and mix until well-combined and smooth. Add more starch if the dough is still sticky and too wet..
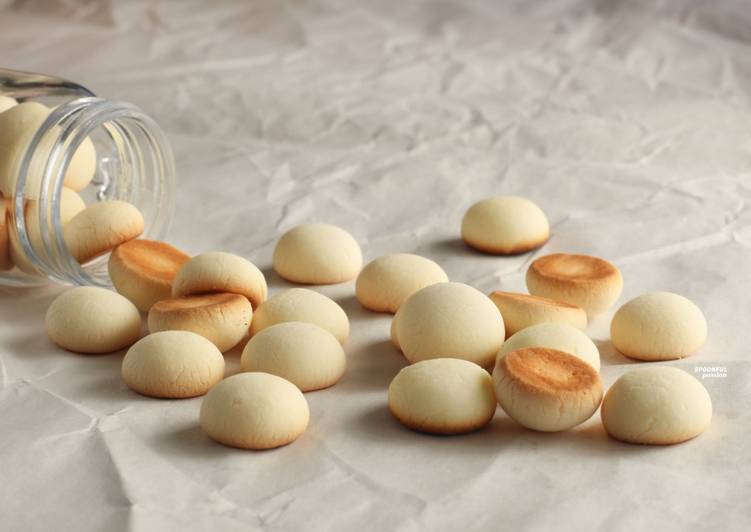
- Portion the dough into small balls. I used a measuring spoon of ¼ teaspoon to scoop and portion each ball..
- For oven-baking, place them 1-inch apart on a baking tray lined with parchment paper. For stovetop cooking, place them on a heavy-bottom frying pan, also 1-inch apart..
- Bake in a preheated oven at 320°F or 160°C for 17-20 minutes or until the bottom of the biscuit is golden brown. For stovetop cooking, cover the pan with a lid and cook over low heat. Check the bottom of the biscuit every 5 minutes. It takes about 20 minutes for the biscuit to be browned at the bottom and become solid..
So that’s going to wrap it up with this exceptional Mini Egg Biscuit recipe. Many thanks considerably for reading. I am sure you may make this at home. There is gonna be viral food in home recipes coming up. Don’t forget to bookmark this page in your browser, and share it to your loved ones, colleague and friends. Thanks again for reading. Persist get cooking! source: cookpad.com

Post a Comment
0 Comments